train-llm-from-scratch
从零开始训练自己的LLM的完整指南,覆盖数据下载、预处理、模型构建(包括多头注意力、MLP、Transformer块)到训练和文本生成。作者用PyTorch实现了基于Attention Is All You Need的Transformer,提供从13M到2B参数的配置,并对比了不同规模模型的训练损失和生成效果。亮点是代码结构清晰、单GPU可跑通小模型、附有详细的逐步解释,适合想动手理解LLM底层原理的开发者。
README
从零开始训练 LLM




我正在寻找 AI 领域的 PhD 职位。 GitHub
我基于论文 Attention is All You Need,使用 PyTorch 从零实现了一个 Transformer(自注意力架构)模型。你可以使用我的脚本在单 GPU 上训练自己的 亿 或 百万 参数级别的 LLM。
下面是训练好的 1300 万参数 LLM 的输出:
In ***1978, The park was returned to the factory-plate that
the public share to the lower of the electronic fence that
follow from the Station's cities. The Canal of ancient Western
nations were confined to the city spot. The villages were directly
linked to cities in China that revolt that the US budget and in
Odambinais is uncertain and fortune established in rural areas.
目录
训练数据信息
训练数据来自 The Pile 数据集,这是一个多样化、开源且大规模的语言模型训练数据集。The Pile 数据集由 22 个不同的子数据集组成,包括书籍、文章、网站等文本。总大小为 825 GB。下面是训练数据的样例:
Line: 0
{
  "text": "Effect of sleep quality ... epilepsy.",
  "meta": {
    "pile_set_name": "PubMed Abstracts"
  }
}

Line: 1
{
  "text": "LLMops a new GitHub Repository ...",
  "meta": {
    "pile_set_name": "Github"
  }
}
先决条件与训练时间
请确保你对面向对象编程 (OOP)、神经网络 (NN) 和 PyTorch 有基本了解,以便理解代码。以下资源可以帮助你入门:
| 主题 | 视频链接 |
|---|---|
| OOP | OOP 视频 |
| 神经网络 | 神经网络视频 |
| PyTorch | PyTorch 视频 |
你需要一张 GPU 来训练模型。Colab 或 Kaggle 的 T4 可以训练 1300 万+ 参数模型,但对数亿参数训练会失败。以下是 GPU 对比:
| GPU 名称 | 显存 | 数据大小 | 2B LLM 训练 | 13M LLM 训练 | 最大实际 LLM 训练规模 |
|---|---|---|---|---|---|
| NVIDIA A100 | 40 GB | 大 | ✔ | ✔ | ~6B–8B |
| NVIDIA V100 | 16 GB | 中 | ✘ | ✔ | ~2B |
| AMD Radeon VII | 16 GB | 中 | ✘ | ✔ | ~1.5B–2B |
| NVIDIA RTX 3090 | 24 GB | 大 | ✔ | ✔ | ~3.5B–4B |
| Tesla P100 | 16 GB | 中 | ✘ | ✔ | ~1.5B–2B |
| NVIDIA RTX 3080 | 10 GB | 中 | ✘ | ✔ | ~1.2B |
| AMD RX 6900 XT | 16 GB | 大 | ✘ | ✔ | ~2B |
| NVIDIA GTX 1080 Ti | 11 GB | 中 | ✘ | ✔ | ~1.2B |
| Tesla T4 | 16 GB | 小 | ✘ | ✔ | ~1.5B–2B |
| NVIDIA Quadro RTX 8000 | 48 GB | 大 | ✔ | ✔ | ~8B–10B |
| NVIDIA RTX 4070 | 12 GB | 中 | ✘ | ✔ | ~1.5B |
| NVIDIA RTX 4070 Ti | 12 GB | 中 | ✘ | ✔ | ~1.5B |
| NVIDIA RTX 4080 | 16 GB | 中 | ✘ | ✔ | ~2B |
| NVIDIA RTX 4090 | 24 GB | 大 | ✔ | ✔ | ~4B |
| NVIDIA RTX 4060 Ti | 8 GB | 小 | ✘ | ✔ | ~1B |
| NVIDIA RTX 4060 | 8 GB | 小 | ✘ | ✔ | ~1B |
| NVIDIA RTX 4050 | 6 GB | 小 | ✘ | ✔ | ~0.75B |
| NVIDIA RTX 3070 | 8 GB | 小 | ✘ | ✔ | ~1B |
| NVIDIA RTX 3060 Ti | 8 GB | 小 | ✘ | ✔ | ~1B |
| NVIDIA RTX 3060 | 12 GB | 中 | ✘ | ✔ | ~1.5B |
| NVIDIA RTX 3050 | 8 GB | 小 | ✘ | ✔ | ~1B |
| NVIDIA GTX 1660 Ti | 6 GB | 小 | ✘ | ✔ | ~0.75B |
| AMD RX 7900 XTX | 24 GB | 大 | ✔ | ✔ | ~3.5B–4B |
| AMD RX 7900 XT | 20 GB | 大 | ✔ | ✔ | ~3B |
| AMD RX 7800 XT | 16 GB | 中 | ✘ | ✔ | ~2B |
| AMD RX 7700 XT | 12 GB | 中 | ✘ | ✔ | ~1.5B |
| AMD RX 7600 | 8 GB | 小 | ✘ | ✔ | ~1B |
"13M LLM 训练"指训练 1300 万+ 参数模型,"2B LLM 训练"指训练 20 亿+ 参数模型。数据大小分为小、中、大:小约 1 GB,中约 5 GB,大约 10 GB。
代码结构
代码库组织如下:
train-llm-from-scratch/
├── src/
│   ├── models/
│   │   ├── mlp.py       # 多层感知机 (MLP) 模块定义
│   │   ├── attention.py # 注意力机制(单头、多头)定义
│   │   ├── transformer_block.py # 单个 Transformer 块定义
│   │   ├── transformer.py     # 主 Transformer 模型定义
├── config/
│   └── config.py    # 包含默认配置(模型参数、文件路径等)
├── data_loader/
│   └── data_loader.py # 包含创建数据加载器/迭代器的函数
├── scripts/
│   ├── train_transformer.py # 训练 Transformer 模型的脚本
│   ├── data_download.py   # 下载数据集的脚本
│   ├── data_preprocess.py # 预处理下载数据的脚本
│   ├── generate_text.py   # 使用训练好的模型生成文本的脚本
├── data/         # 存储数据集的目录
│   ├── train/     # 包含训练数据
│   └── val/       # 包含验证数据
├── models/       # 保存训练好的模型的目录
scripts/ 目录包含下载数据集、预处理数据、训练模型和使用训练好的模型生成文本的脚本。src/models/ 目录包含 Transformer 模型、MLP、注意力机制和 Transformer 块的实现。config/ 目录包含带有默认参数的配置文件。data_loader/ 目录包含创建数据加载器/迭代器的函数。
使用方法
克隆仓库并进入目录:
git clone https://github.com/FareedKhan-dev/train-llm-from-scratch.git
cd train-llm-from-scratch
如果遇到导入问题,请确保将 PYTHONPATH 设置为项目的根目录:
export PYTHONPATH="${PYTHONPATH}:/path/to/train-llm-from-scratch"

# 或者如果已经在 train-llm-from-scratch 目录下
export PYTHONPATH="$PYTHONPATH:."
安装所需依赖:
pip install -r requirements.txt
你可以在 src/models/transformer.py 中修改 Transformer 架构,在 config/config.py 中修改训练配置。
下载训练数据,运行:
python scripts/data_download.py
该脚本支持以下参数:
--train_max:要下载的最大训练文件数。默认为 1(最大为 30)。每个文件约 11 GB。--train_dir:训练数据存储目录。默认为data/train。--val_dir:验证数据存储目录。默认为data/val。
预处理下载的数据,运行:
python scripts/data_preprocess.py
该脚本支持以下参数:
--train_dir:训练数据文件存储目录(默认为data/train)。--val_dir:验证数据文件存储目录(默认为data/val)。--out_train_file:处理后训练数据的 HDF5 格式存储路径(默认为data/train/pile_train.h5)。--out_val_file:处理后验证数据的 HDF5 格式存储路径(默认为data/val/pile_dev.h5)。--tokenizer_name:用于处理数据的 tokenizer 名称(默认为r50k_base)。--max_data:从每个数据集(训练和验证)中处理的 JSON 对象(行)的最大数量。默认为 1000。
数据预处理完成后,你可以通过修改 config/config.py 中的配置来训练 1300 万参数的 LLM,配置如下:
# 定义词汇表大小和 Transformer 配置(30 亿)
VOCAB_SIZE = 50304          # 词汇表中的唯一 token 数量
CONTEXT_LENGTH = 128        # 模型的最大序列长度
N_EMBED = 128               # 嵌入空间的维度
N_HEAD = 8                  # 每个 Transformer 块中的注意力头数量
N_BLOCKS = 1                # 模型中的 Transformer 块数量
训练模型,运行:
python scripts/train_transformer.py
它将开始训练模型,并将训练好的模型保存到 models/ 默认目录或配置文件中指定的目录。
使用训练好的模型生成文本,运行:
python scripts/generate_text.py --model_path models/your_model.pth --input_text hi
该脚本支持以下参数:
--model_path:训练好的模型路径。--input_text:用于生成新文本的初始提示。--max_new_tokens:生成的最大 token 数量(默认为 100)。
它将使用训练好的模型根据输入提示生成文本。
逐步代码解析
本节面向希望详细了解代码的读者。我将逐步解释代码,从导入库开始,到训练模型和生成文本。
之前,我在 Medium 上发表了一篇关于使用 Tiny Shakespeare 数据集创建 230 万+ 参数 LLM 的文章,但输出没有意义。以下是输出示例:
# 2.3 Million Parameter LLM Output
ZELBETH:
Sey solmenter! tis tonguerered if
Vurint as steolated have loven OID the queend refore
Are been, good plmp:

Proforne, wiftes swleen, was no blunderesd a a quain beath!
Tybell is my gateer stalk smend as be matious dazest
我想到:如果我把 Transformer 架构做得更小、更简单,而训练数据更多样化,会怎样?那么,一个人用几乎“报废”的 GPU,能创建出多大参数规模、能说出像样语法的模型,并生成有些意义的文本?
我发现 1300 万+ 参数 的模型足以开始在语法和标点上产生有意义的结果,这是一个积极的进展。这意味着我们可以使用非常特定的数据集,对之前训练的模型进行进一步微调,以完成狭窄的任务。我们最终可能得到一个低于 10 亿参数甚至约 5 亿参数的模型,完美适用于特定用例,特别是在安全地私有数据上运行。
我建议你 首先训练一个 1300 万+ 参数 的模型,使用我的 GitHub 仓库中的脚本。你将在一天内获得结果,而不必等待更长的时间,或者你的本地 GPU 可能不足以训练数十亿参数的模型。
导入库
让我们导入本文中所需的库:
# PyTorch for deep learning functions and tensors
import torch
import torch.nn as nn
import torch.nn.functional as F

# Numerical operations and arrays handling
import numpy as np

# Handling HDF5 files
import h5py

# Operating system and file management
import os

# Command-line argument parsing
import argparse

# HTTP requests and interactions
import requests

# Progress bar for loops
from tqdm import tqdm

# JSON handling
import json

# Zstandard compression library
import zstandard as zstd

# Tokenization library for large language models
import tiktoken

# Math operations (used for advanced math functions)
import math
准备训练数据
我们的训练数据集需要多样化,包含不同领域的信息,而 The Pile 是正确的选择。尽管它有 825 GB 大小,我们将只使用其中一小部分,即 5%–10%。首先下载数据集并查看其工作方式。我将下载 HuggingFace 上的版本。
# Download validation dataset
!wget https://huggingface.co/datasets/monology/pile-uncopyrighted/resolve/main/val.jsonl.zst

# Download the first part of the training dataset
!wget https://huggingface.co/datasets/monology/pile-uncopyrighted/resolve/main/train/00.jsonl.zst

# Download the second part of the training dataset
!wget https://huggingface.co/datasets/monology/pile-uncopyrighted/resolve/main/train/01.jsonl.zst

# Download the third part of the training dataset
!wget https://huggingface.co/datasets/monology/pile-uncopyrighted/resolve/main/train/02.jsonl.zst
下载需要一些时间,但你可以将训练数据集限制为一个文件 00.jsonl.zst 而不是三个。它已经分割为训练/验证/测试。完成后,确保将文件正确放置到各自的目录中。
import os
import shutil
import glob

# Define directory structure
train_dir = "data/train"
val_dir = "data/val"

# Create directories if they don't exist
os.makedirs(train_dir, exist_ok=True)
os.makedirs(val_dir, exist_ok=True)

# Move all train files (e.g., 00.jsonl.zst, 01.jsonl.zst, ...)
train_files = glob.glob("*.jsonl.zst")
for file in train_files:
    if file.startswith("val"):
        # Move validation file
        dest = os.path.join(val_dir, file)
    else:
        # Move training file
        dest = os.path.join(train_dir, file)
    shutil.move(file, dest)

Our dataset is in the .jsonl.zst format, which is a compressed file format commonly used for storing large datasets. It combines JSON Lines (.jsonl), where each line represents a valid JSON object, with Zstandard (.zst) compression. Let's read a sample of one of the downloaded files and see how it looks.

in_file = "data/val/val.jsonl.zst"  # Path to our validation file

with zstd.open(in_file, 'r') as in_f:
    for i, line in tqdm(enumerate(in_f)):  # Read first 5 lines
        data = json.loads(line)
        print(f"Line {i}: {data}")  # Print the raw data for inspection
        if i == 2:
            break
上述代码的输出如下:
#### OUTPUT ####
Line: 0
{
  "text": "Effect of sleep quality ... epilepsy.",
  "meta": {
    "pile_set_name": "PubMed Abstracts"
  }
}

Line: 1
{
  "text": "LLMops a new GitHub Repository ...",
  "meta": {
    "pile_set_name": "Github"
  }
}
现在我们需要对数据集进行编码(tokenize)。我们的目标是让 LLM 至少能输出正确的单词。为此,我们需要使用现有的 tokenizer。我们将使用 OpenAI 的 tiktoken 开源 tokenizer。我们使用 r50k_base tokenizer(GPT-3 模型使用的)对我们的数据集进行 tokenize。
我们需要创建一个函数以避免重复,因为我们将同时 tokenize 训练和验证数据集。
def process_files(input_dir, output_file):
    """
    Process all .zst files in the specified input directory and save encoded tokens to an HDF5 file.

    Args:
        input_dir (str): Directory containing input .zst files.
        output_file (str): Path to the output HDF5 file.
    """
    with h5py.File(output_file, 'w') as out_f:
        # Create an expandable dataset named 'tokens' in the HDF5 file
        dataset = out_f.create_dataset('tokens', (0,), maxshape=(None,), dtype='i')
        start_index = 0

        # Iterate through all .zst files in the input directory
        for filename in sorted(os.listdir(input_dir)):
            if filename.endswith(".jsonl.zst"):
                in_file = os.path.join(input_dir, filename)
                print(f"Processing: {in_file}")

                # Open the .zst file for reading
                with zstd.open(in_file, 'r') as in_f:
                    # Iterate through each line in the compressed file
                    for line in tqdm(in_f, desc=f"Processing {filename}"):
                        # Load the line as JSON
                        data = json.loads(line)

                        # Append the end-of-text token to the text and encode it
                        text = data['text'] + "<|endoftext|>"
                        encoded = enc.encode(text, allowed_special={'<|endoftext|>'})
                        encoded_len = len(encoded)

                        # Calculate the end index for the new tokens
                        end_index = start_index + encoded_len

                        # Expand the dataset size and store the encoded tokens
                        dataset.resize(dataset.shape[0] + encoded_len, axis=0)
                        dataset[start_index:end_index] = encoded

                        # Update the start index for the next batch of tokens
                        start_index = end_index
关于此函数有两个要点:
我们将 token 化数据存储在 HDF5 文件中,这允许我们在训练模型时灵活地快速访问数据。
添加
<|endoftext|>token 标记每个文本序列的结束,向模型表明它已经到达有意义的上下文的末尾,有助于生成连贯的输出。
现在我们可以简单地使用以下代码对训练和验证数据集进行编码:
# Define tokenized data output directories
out_train_file = "data/train/pile_train.h5"
out_val_file = "data/val/pile_dev.h5"

# Loading tokenizer of (GPT-3/GPT-2 Model)
enc = tiktoken.get_encoding('r50k_base')

# Process training data
process_files(train_dir, out_train_file)

# Process validation data
process_files(val_dir, out_val_file)
让我们看一下 token 化数据的样本:
 with h5py.File(out_val_file, 'r') as file:
     # Access the 'tokens' dataset
     tokens_dataset = file['tokens']

     # Print the dtype of the dataset
     print(f"Dtype of 'tokens' dataset: {tokens_dataset.dtype}")

     # load and print the first few elements of the dataset
     print("First few elements of the 'tokens' dataset:")
     print(tokens_dataset[:10])  # First 10 token
上述代码的输出如下:
#### OUTPUT ####
Dtype of 'tokens' dataset: int32

First few elements of the 'tokens' dataset:
[ 2725  6557    83 23105   157   119   229    77  5846  2429]
我们已经准备好了训练所用的数据集。现在我们将编写 Transformer 架构的代码,并相应查看其理论。
Transformer 概述
让我们快速了解 Transformer 架构如何处理和理解文本。它的工作原理是将文本分解为称为 token 的小块,并预测序列中的下一个 token。一个 Transformer 有许多层,称为 Transformer 块,叠放在一起,最后预测层位于末端。
每个 Transformer 块有两个主要组件:
自注意力头 (Self-Attention Heads):确定输入的哪些部分对于模型需要重点关注。例如,在处理句子时,注意力头可以突出单词之间的关系,比如代词与其指代的名词之间的关系。
MLP (多层感知机):一个简单的前馈神经网络。它接收注意力头强调的信息并进一步处理。MLP 有一个输入层,从注意力头接收数据;一个隐藏层,增加处理的复杂性;一个输出层,将结果传递到下一个 Transformer 块。
总之,注意力头充当“思考什么”的部分,而 MLP 是“如何思考”的部分。堆叠许多 Transformer 块使模型能够理解文本中的复杂模式和关系,但这并不总是保证的。
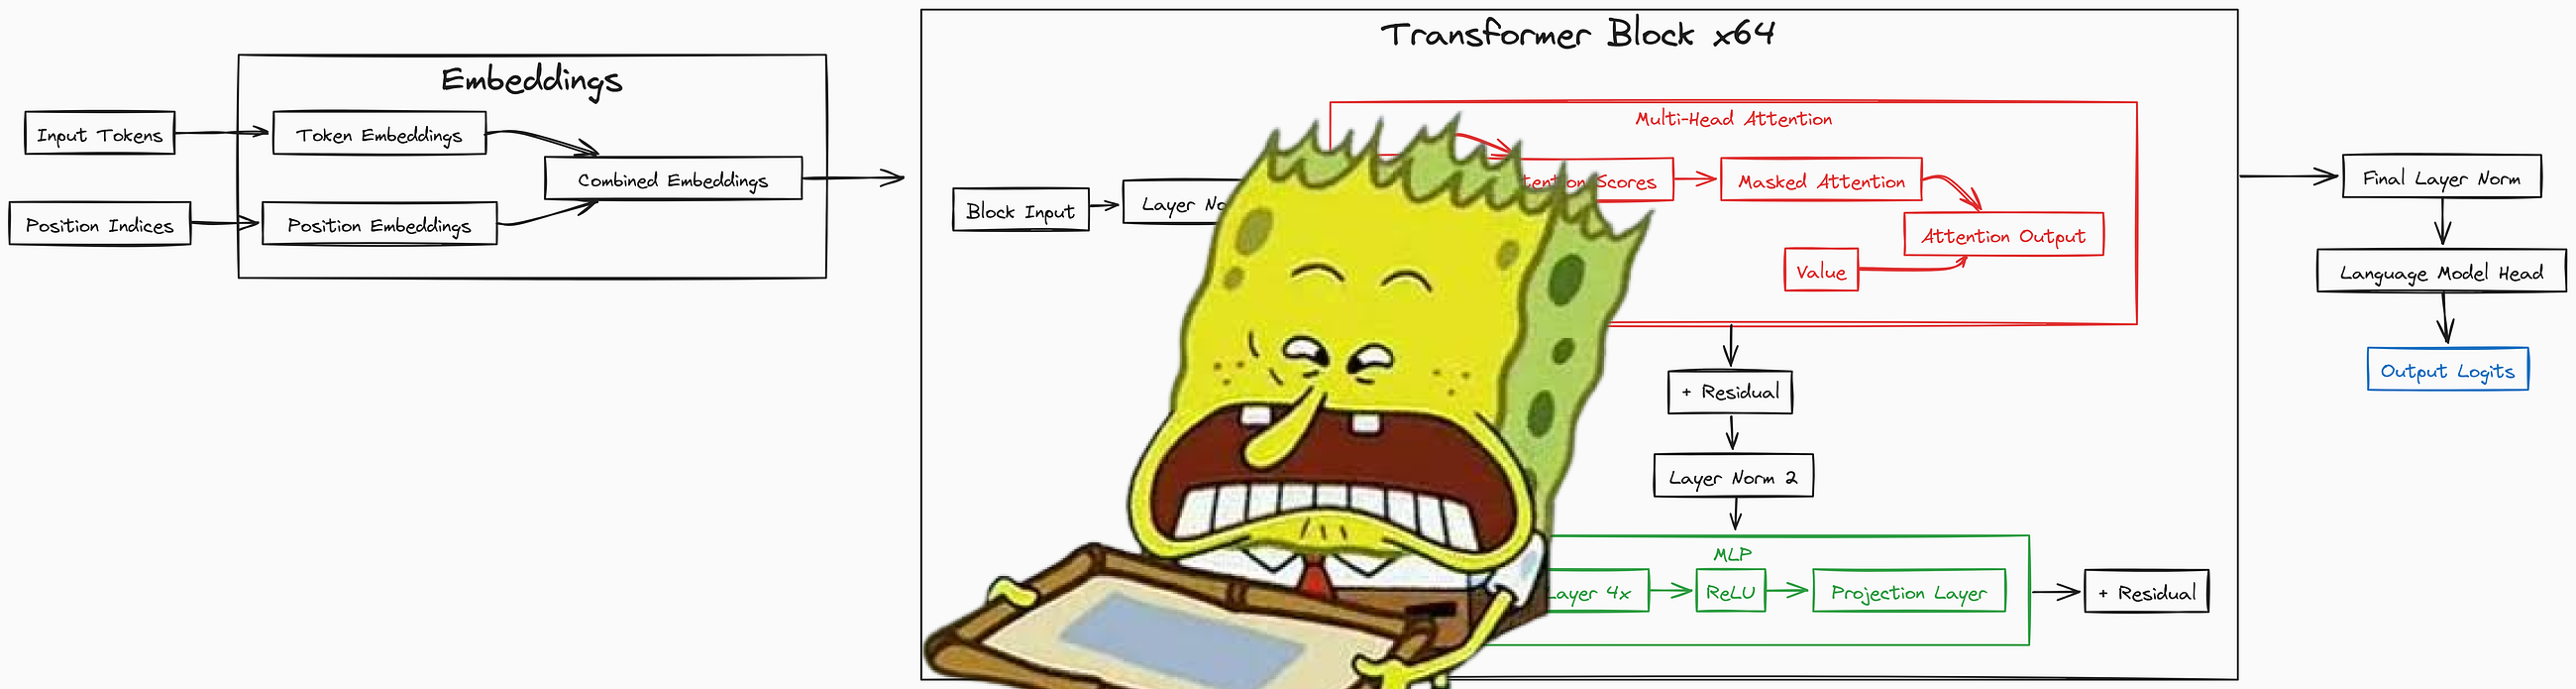
我们不查看原始论文中的图,而是可视化一个更简单、更易于理解的架构图,我们将对其进行编码。

让我们浏览我们将要编码的架构流程:
输入 token 转换为嵌入并与位置信息结合。
模型有 64 个相同的 Transformer 块,按顺序处理数据。
每个块首先运行多头注意力,以查看 token 之间的关系。
每个块然后通过 MLP 处理数据,MLP 先扩展再压缩数据。
每一步都使用残差连接(捷径)来帮助信息流动。
在整个过程中使用层归一化以稳定训练。
注意力机制计算哪些 token 应该关注彼此。
MLP 将数据扩展到 4 倍大小,应用 ReLU,然后压缩回原始大小。
模型使用 16 个注意力头来捕获不同类型的关系。
最后一层将处理后的数据转换为词汇表大小的预测。
模型通过重复预测下一个最可能的 token 来生成文本。
多层感知机 (MLP)
MLP 是 Transformer 前馈网络中的一个基本构建块。它的作用是引入非线性并学习嵌入表示中的复杂关系。在定义 MLP 模块时,一个重要的参数是 n_embed,它定义了输入嵌入的维度。
MLP 通常由一个隐藏线性层(将输入维度扩展一个因子,通常为 4,我们将使用)组成,随后是一个非线性激活函数,通常是 ReLU。这种结构使我们的网络能够学习更复杂的特征。最后,一个投影线性层将扩展后的表示映射回原始嵌入维度。这一系列变换使 MLP 能够改善由注意力机制学到的表示。

# --- MLP (Multi-Layer Perceptron) Class ---

class MLP(nn.Module):
    """
    A simple Multi-Layer Perceptron with one hidden layer.

    This module is used within the Transformer block for feed-forward processing.
    It expands the input embedding size, applies a ReLU activation, and then projects it back
    to the original embedding size.
    """
    def __init__(self, n_embed):
        super().__init__()
        self.hidden = nn.Linear(n_embed, 4 * n_embed)  # Linear layer to expand embedding size
        self.relu = nn.ReLU()                        # ReLU activation function
        self.proj = nn.Linear(4 * n_embed, n_embed)  # Linear layer to project back to original size

    def forward(self, x):
        """
        Forward pass through the MLP.

        Args:
            x (torch.Tensor): Input tensor of shape (B, T, C), where B is batch size,
                              T is sequence length, and C is embedding size.

        Returns:
            torch.Tensor: Output tensor of the same shape as the input.
        """
        x = self.forward_embedding(x)
        x = self.project_embedding(x)
        return x

    def forward_embedding(self, x):
        """
        Applies the hidden linear layer followed by ReLU activation.

        Args:
            x (torch.Tensor): Input tensor.

        Returns:
            torch.Tensor: Output after the hidden layer and ReLU.
        """
        x = self.relu(self.hidden(x))
        return x

    def project_embedding(self, x):
        """
        Applies the projection linear layer.

        Args:
            x (torch.Tensor): Input tensor.

        Returns:
            torch.Tensor: Output after the projection layer.
        """
        x = self.proj(x)
        return x
我们刚刚完成了 MLP 部分的编码。__init__ 方法初始化一个隐藏线性层,扩展输入嵌入大小(n_embed),以及一个投影层,将其缩小回原始大小。隐藏层后应用 ReLU 激活。forward 方法定义了通过这些层的数据流,通过 forward_embedding 应用隐藏层和 ReLU,通过 project_embedding 应用投影层。
单头注意力
注意力头是模型的核心部分。它的目的是关注输入序列的相关部分。在定义 Head 模块时,一些重要参数是 head_size、n_embed 和 context_length。head_size 参数决定了键、查询和值投影的维度,影响注意力机制的表示能力。
输入嵌入维度 n_embed 定义了这些投影层的输入大小。context_length 用于创建因果掩码,确保模型只关注之前的 token。
在 Head 内部,键、查询和值的线性层(nn.Linear)被初始化时不使用偏置。一个大小为 context_length x context_length 的下三角矩阵(tril)被注册为缓冲区,用于实现因果掩码,防止注意力机制关注未来的 token。

# --- Attention Head Class ---

class Head(nn.Module):
    """
    A single attention head.

    This module calculates attention scores and applies them to the values.
    It includes key, query, and value projections, and uses causal masking
    to prevent attending to future tokens.
    """
    def __init__(self, head_size, n_embed, context_length):
        super().__init__()
        self.key = nn.Linear(n_embed, head_size, bias=False)   # Key projection
        self.query = nn.Linear(n_embed, head_size, bias=False) # Query projection
        self.value = nn.Linear(n_embed, head_size, bias=False) # Value projection
        # Lower triangular matrix for causal masking
        self.register_buffer('tril', torch.tril(torch.ones(context_length, context_length)))

    def forward(self, x):
        """
        Forward pass through the attention head.

        Args:
            x (torch.Tensor): Input tensor of shape (B, T, C).

        Returns:
            torch.Tensor: Output tensor after applying attention.
        """
        B, T, C = x.shape
        k = self.key(x)     # (B, T, head_size)
        q = self.query(x)   # (B, T, head_size)
        scale_factor = 1 / math.sqrt(C)
        # Calculate attention weights: (B, T, head_size) @ (B, head_size, T) -> (B, T, T)
        attn_weights = q @ k.transpose(-2, -1) * scale_factor
        # Apply causal masking
        attn_weights = attn_weights.masked_fill(self.tril[:T, :T] == 0, float('-inf'))
        attn_weights = F.softmax(attn_weights, dim=-1)
        v = self.value(x)   # (B, T, head_size)
        # Apply attention weights to values
        out = attn_weights @ v # (B, T, T) @ (B, T, head_size) -> (B, T, head_size)
        return out
我们的注意力头类的 `init
[原 README 过长已截断]